Turning a Natural Edge Bowl
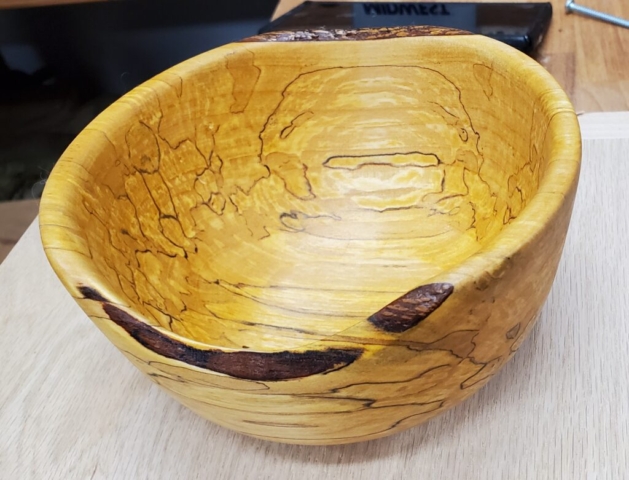
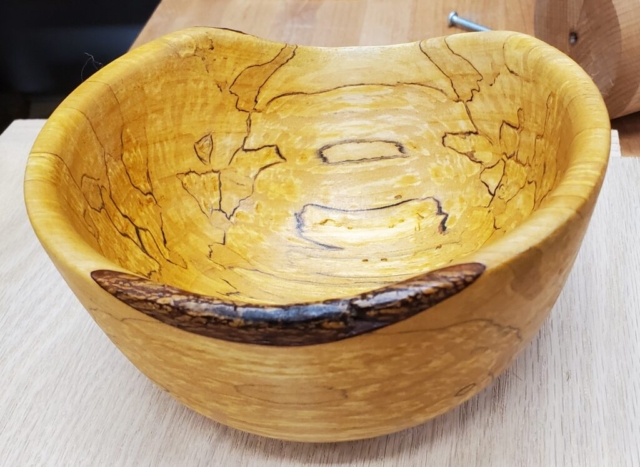
A natural or live edge bowl is a type of wooden bowl that retains part of the natural edge of the wood slab and showcases the raw, organic contours of the original tree. These pieces are truly unique and celebrate the character of the wood by emphasizing the beauty of the grain, knots, and bark inherent in the piece.
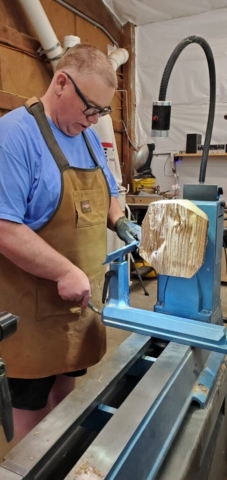
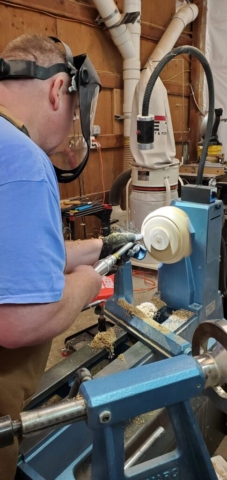
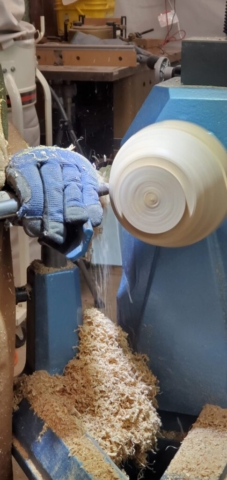
Here are the steps I followed in making a Natural Edge Bowl & a gallery of in-the-shop photos.
Step 1: Select the Wood
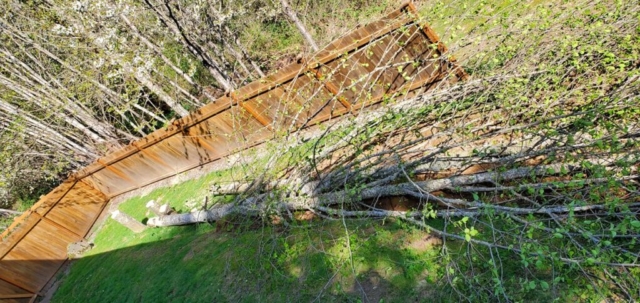
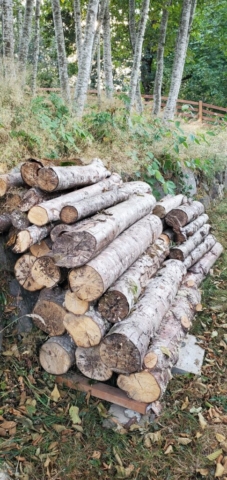
We removed some alders from the corner of the property, then cut and stacked the logs for 18 months to dry.
Step 2: Prepare the Wood
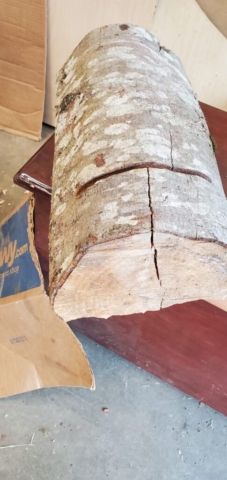
After drying, the logs were cut into sections and inspected for a good natural edge, interesting grain patterns and a decent thickness for the intended project. I chose not to remove excess bark at this stage.
Step 3: Mount the Wood
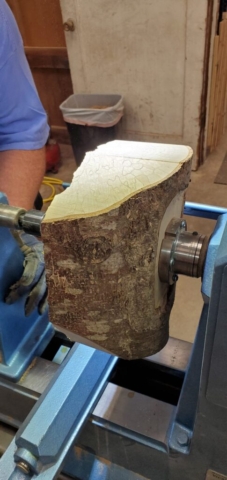
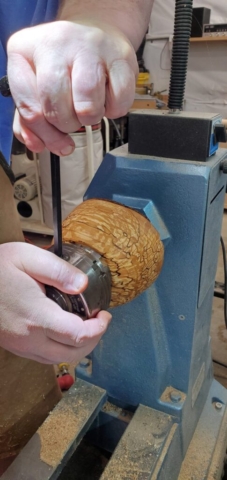
The block was then prepared for mounting on a faceplate and secured to the lathe.
Step 4: Shape the Outside of the Bowl
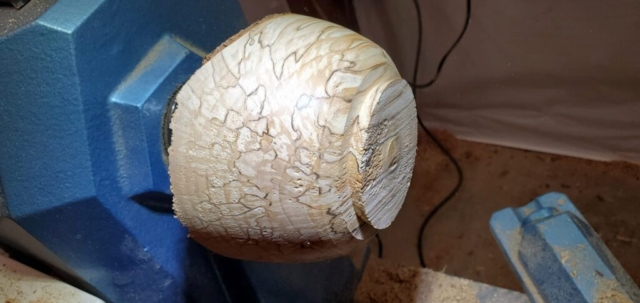
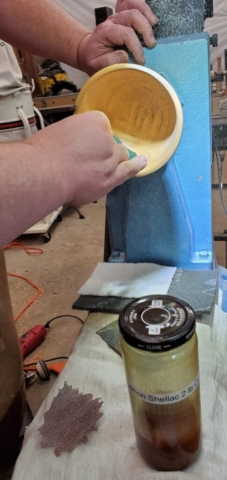
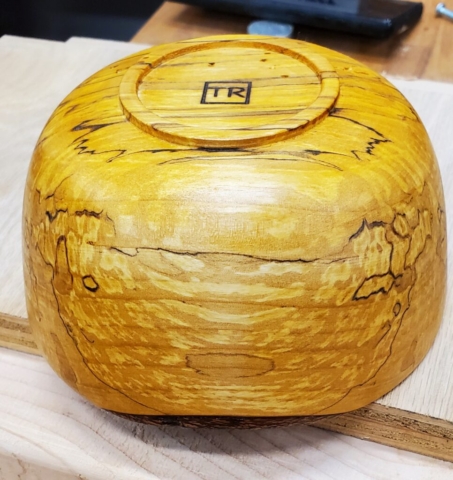
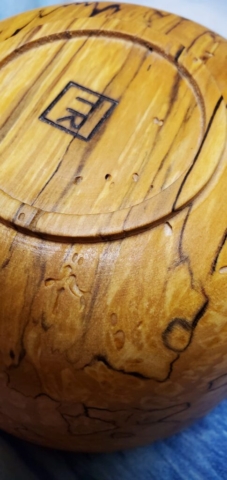
The outside of the bowl was rough-shaped and a tenon created on the bottom. Using chisels and sandpaper the shape was refined and the edges smoothed. I paid attention to the live edge, preserving its natural look and found a really interesting grain pattern within the block. This wood was very soft, so I coated it in lemon yellow shellac to stabilize the outside before flipping it to work on the inside.
Step 5: Create the Bowl Cavity
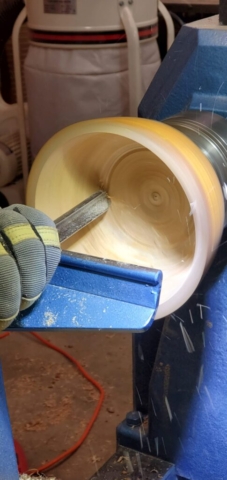
The bowl was reattached to the lathe using the tenon I created earlier. Using gouges, chisels, and sandpaper, it’s time to carve.
Step 6: Final Steps
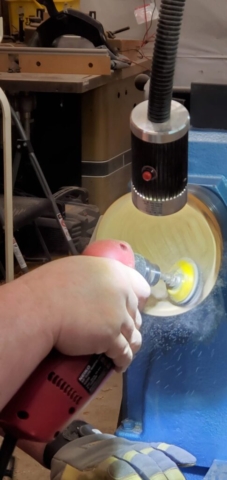
At this point, both sides of the bowl were checked for smoothness and fine grit sandpaper fixed any rough spots. Lacquer was put on the inner side.
The Finished Bowl looks great! Check out the interesting grain lines and bug holes.
